Creating Role Items

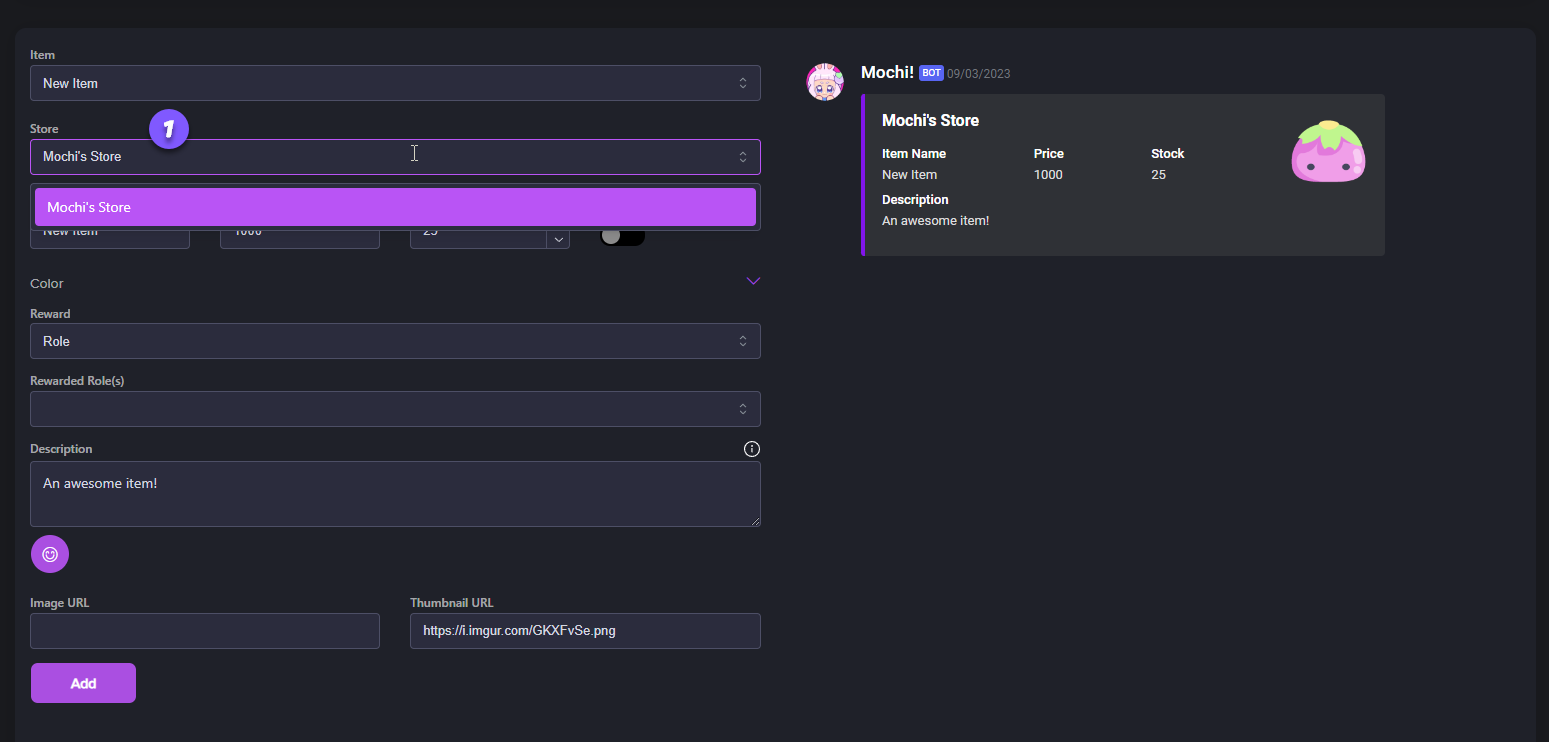
Step 1: Creating a New Item

To start adding a new item to your store, simply click on "New Item" and then pick the correct store from the options in the "Store" menu. It will show you all the stores that are currently available on your server.

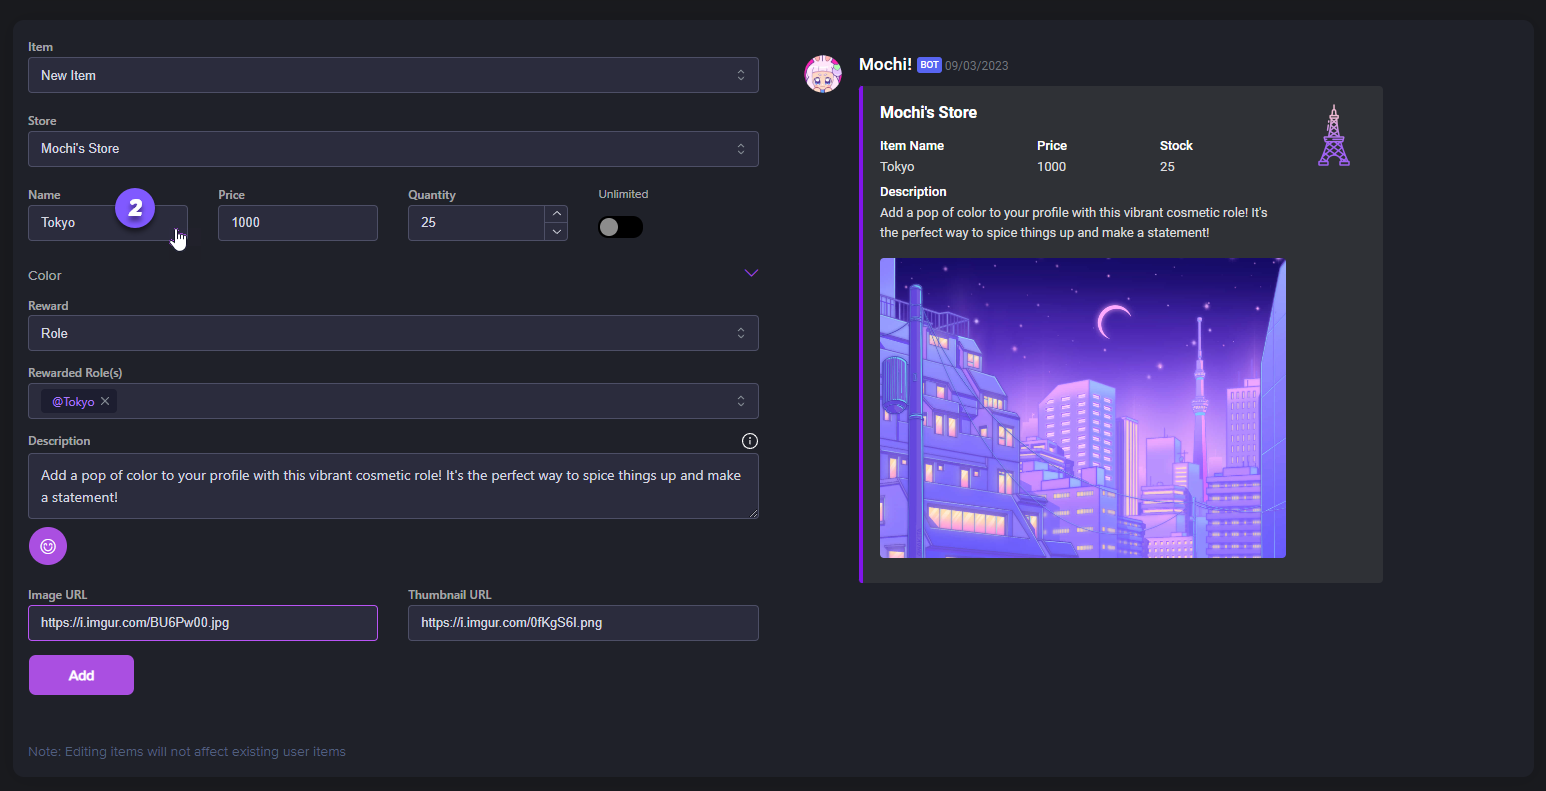
Step 2: Provide a Name, Price, and Stock Quantity

Let's give your role a special name. After that, you can set the price and quantity of the items you want to sell in your store. If you want to offer an unlimited supply of an item, just toggle the Unlimited button. It's that simple!

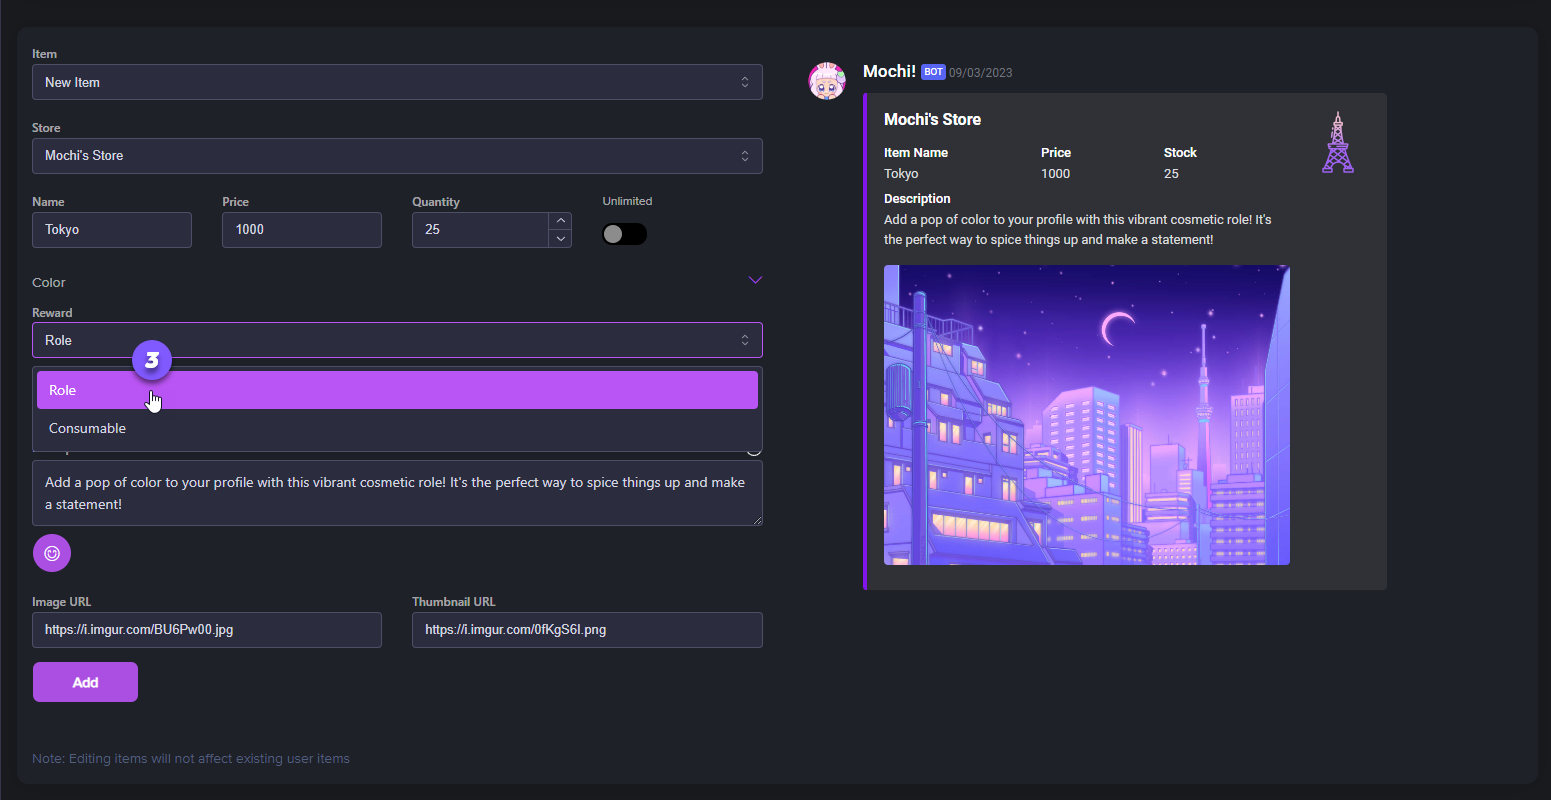
Step 3: Select the Role Type

When selecting the Reward type for your item, choose "Role". This option allows for unique colors and additional permissions for those who hold specific roles within your server.

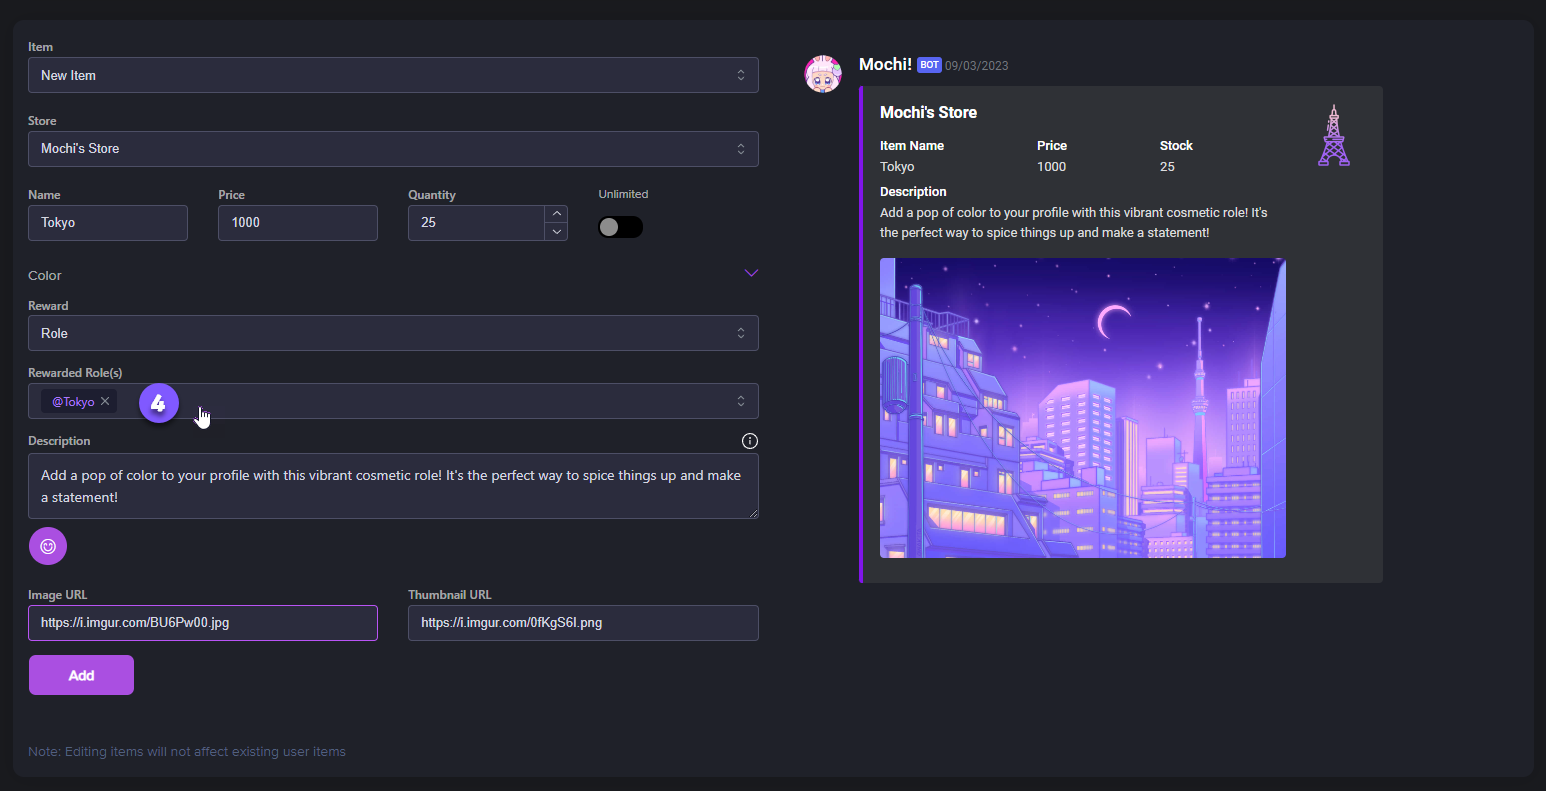
Step 4: Assign a color role to the item.

It's time to pick a role for your role item! This is the role that your member will get when they buy it from your shop.

Step 5: Provide a Description for Your Store Item.

Create a fantastic description for your newest store item and make it stand out! If you want, you can add a thumbnail image and a main image to make your store item listing even more attractive.

And when you're ready, simply hit the "Add" button to add your new store item!

Enhance your users' experience and engagement with some easy steps! You can create and manage unique role items in your server store. It's simple and effective!

Last updated