
✨Setting up Autopurge
First, you'll want to open up the auto-purge feature in Mochi. This handy tool helps keep your channel clutter-free by regularly deleting messages according to a schedule. It can even remove up to 250 messages at a time.
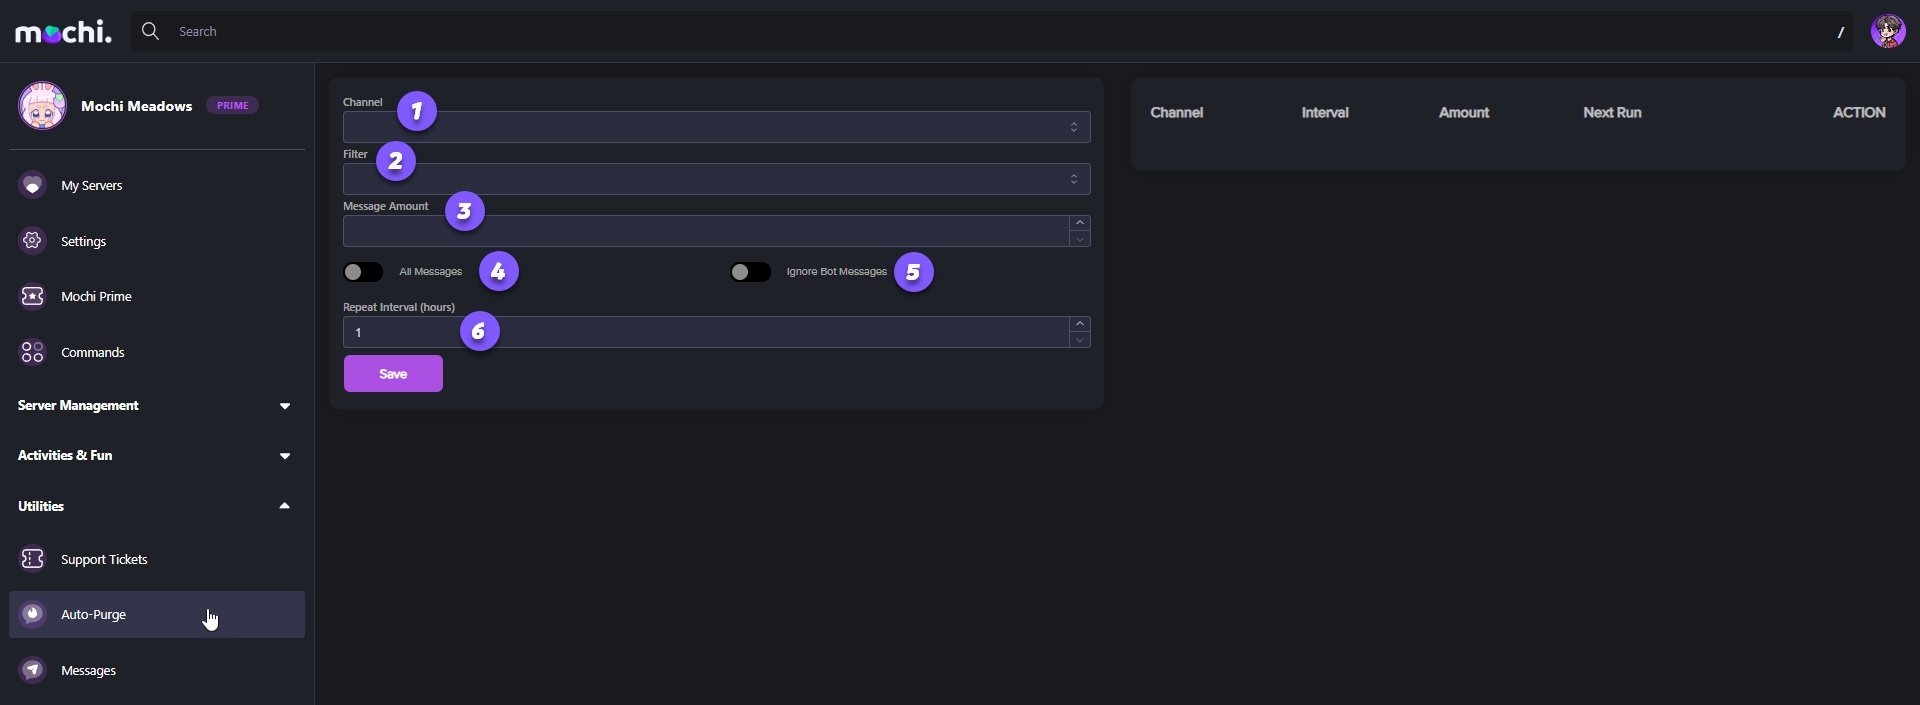
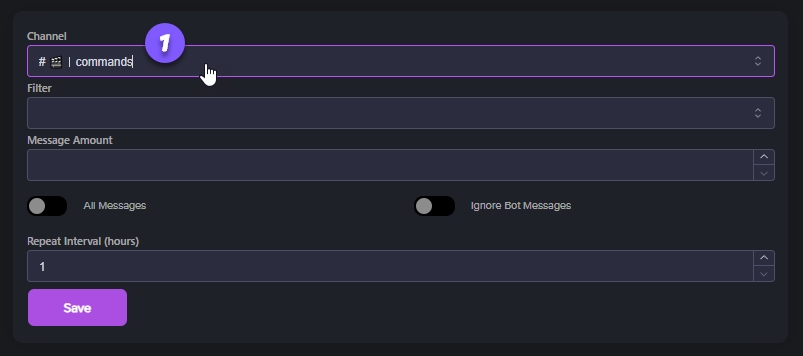
Step 1: Select the Channel
Select the channel where Mochi should perform auto-purging by choosing it from the dropdown menu in the "Channel" field.
Step 2: Set Filters
Once you've chosen a channel, you can use filters to tell Mochi what to leave out during the purge. Here are the choices:
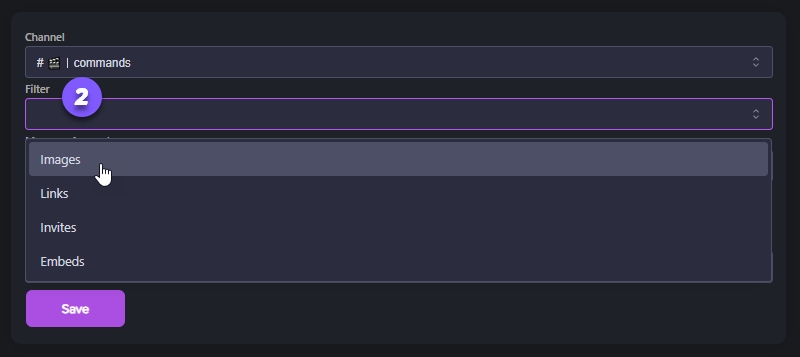
Images: When you turn on this filter, Mochi will ignore images.
Links: When you turn on this filter, Mochi will ignore website links.
Invites: When you turn on this filter, Mochi will ignore Discord Invites.
Embeds: When you turn on this filter, Mochi will ignore embeds.
Step 3: Setting the Message Amount to be Purged
To delete a specific number of messages at once, just enter how many you want to remove in the "Message Amount" section.
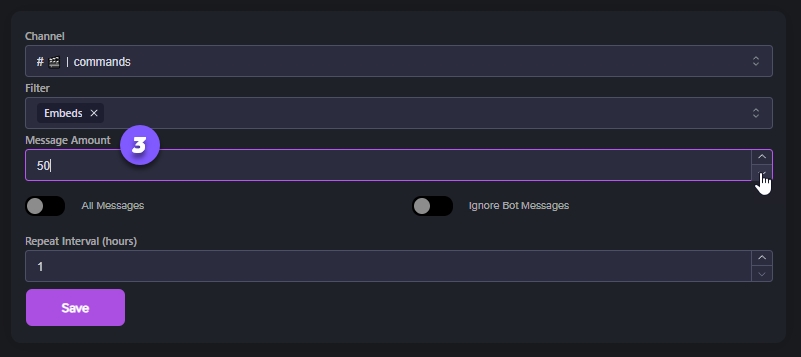
To clear all messages in the channel, simply toggle the "All Messages" button.
If you only want to delete messages from members, just enable "Ignore Bot Messages".
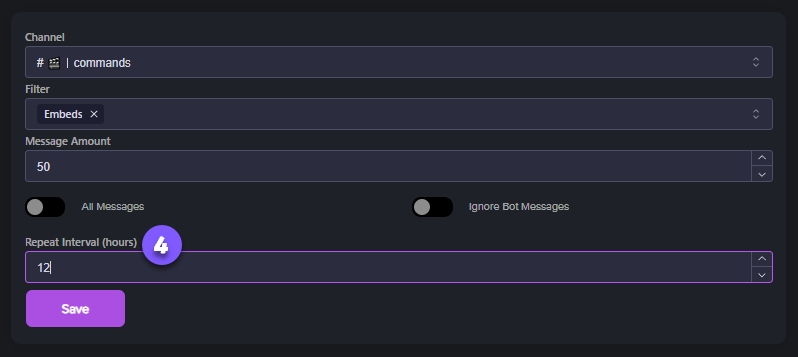
Step 4: Set the Repeat Interval
If you want Mochi to delete and purge messages from your channel at specific intervals, you just need to set how often (in hours) you'd like that to happen. Simply set the number and Mochi will take care of the rest!
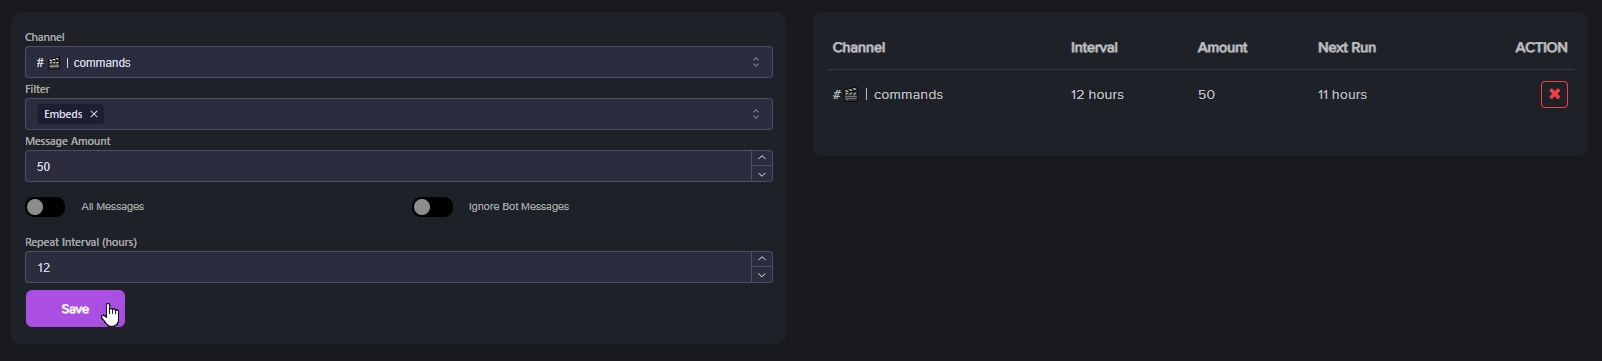
Step 5: Saving the Purge Event
To save the auto-purge event, simply click on the "Save" button. If you ever want to stop the event, just remove it from the menu. It's as easy as that!
Last updated