Live Role Setup

In this part of the guide, we'll help you set up a live role for your server. To get started, you'll need to create a live role, a ping role, and a special channel where Mochi can send your Twitch Notifications. Let's get started!

Step 1: Enable Live Roles

Let's start by turning on Live Roles! Simply toggle the "Live Roles" button on and voila, the live roles module will be enabled for your server.

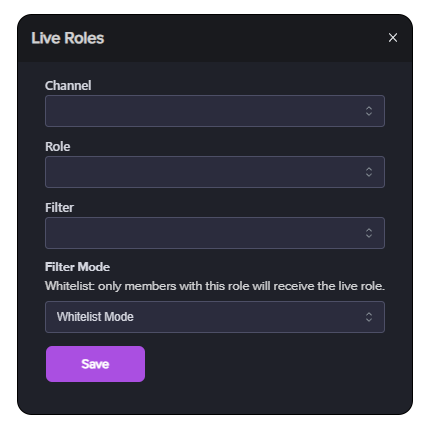
Step 2: Access Live Role Settings

Next, just click on the gear icon, and the Live Role Settings menu will pop up. From there, you can personalize your Live Roles to your liking.

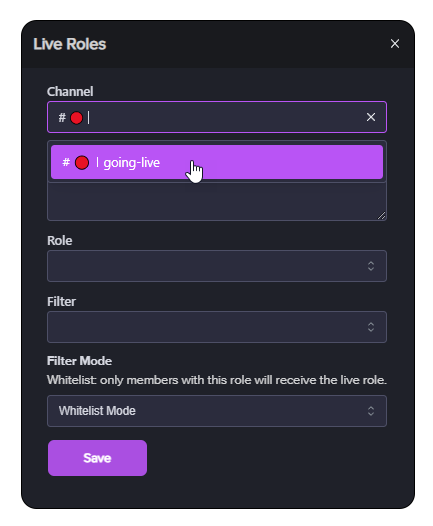
Step 3: Select the Live Role Notification Channel

To get notified when someone with the Live Role goes live on Twitch, simply select the Notification Channel from the "Channels" section in the menu.

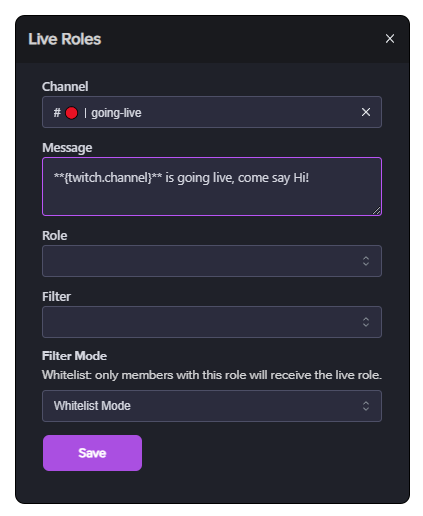
Step 4: Create a Live Role Message

Next, create a Live Role message that will be posted whenever someone with the Live Role goes live on Twitch under the "Message" section. You can customize the message using Mochi's variables.

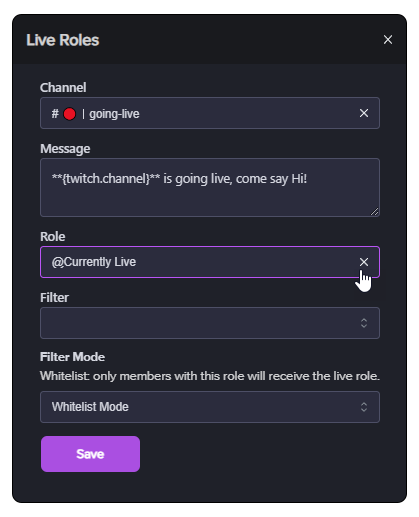
Step 5: Selecting the Live Role

Now, let's choose a Live Role for your server! Just remember to put this role towards the top of the list of roles in your server (but under Mochi's bot role and your admin roles), and make sure to turn on "Display role members separately from online members" so that everyone with the role will be easily visible.

To Set the Filter Mode, please check out the Setting Live Role Filters section of this guide.

Last updated