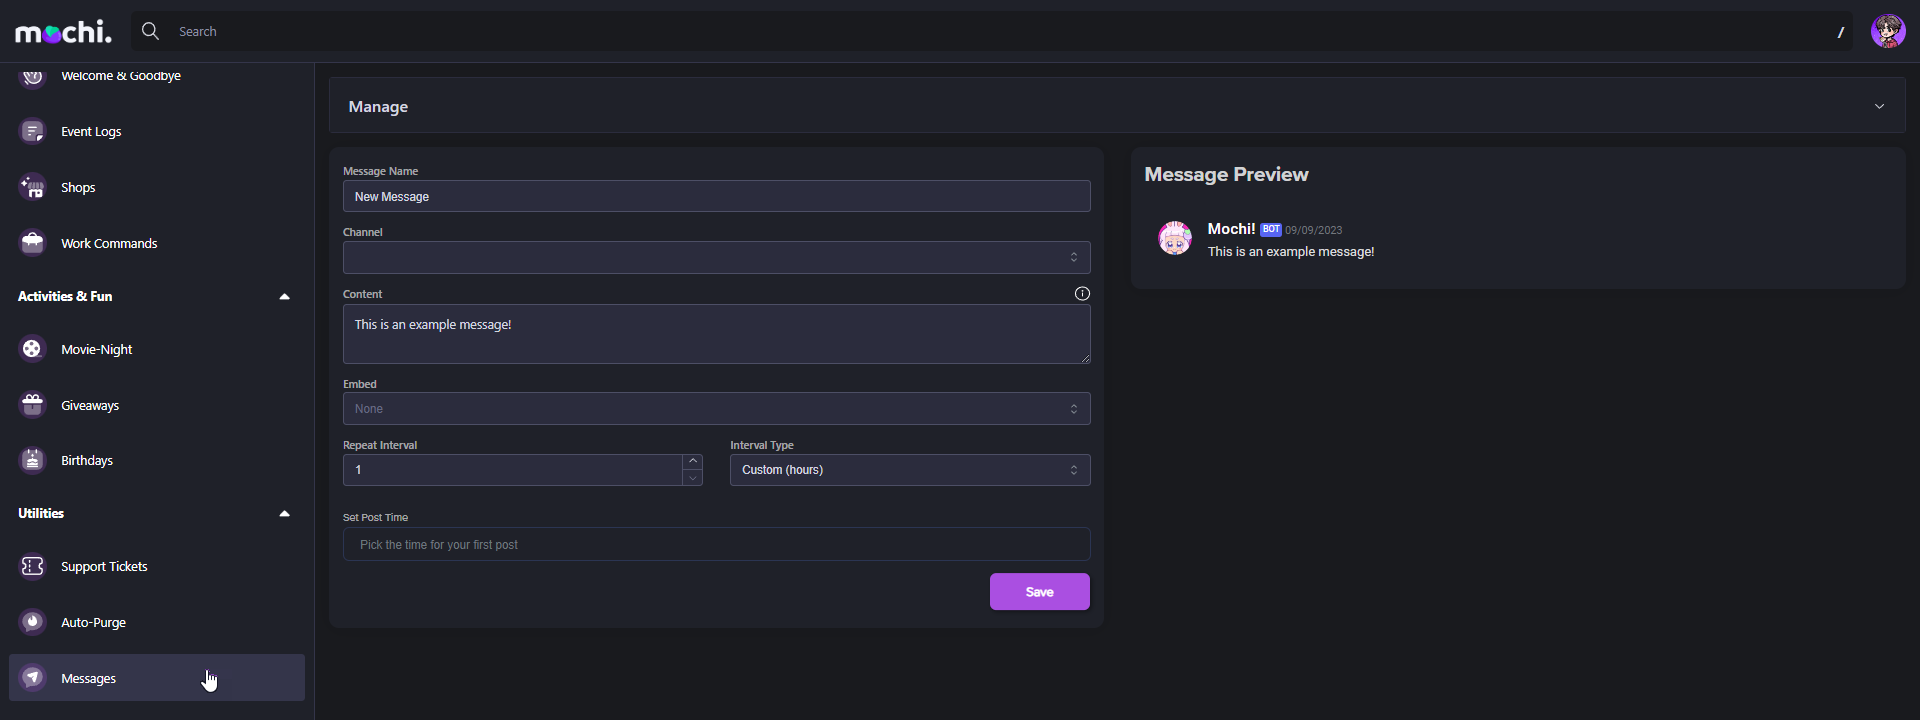
Creating Timed Messages

Creating Customizable Hourly, Daily, Weekly, or Monthly Scheduled Messages

With Mochi's message module, it's easy to schedule a post with the timing that suits you best, whether it's hourly, daily, weekly, or monthly. The interface is super user-friendly, so you can streamline your scheduling process and get your messages delivered perfectly every time.

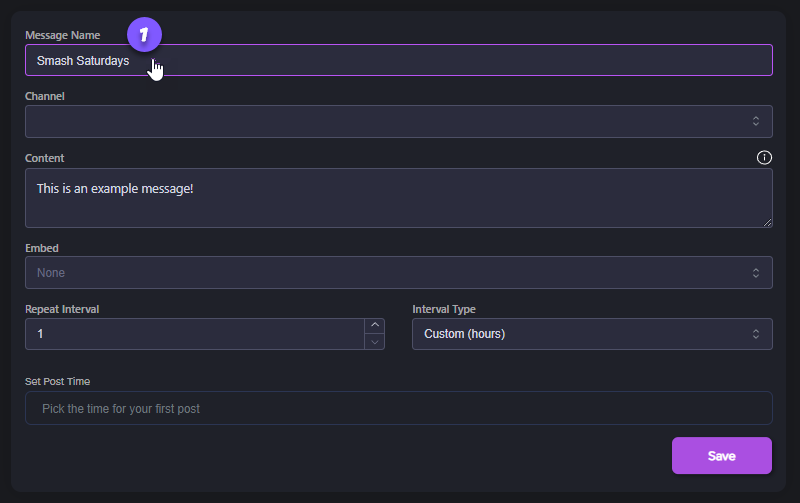
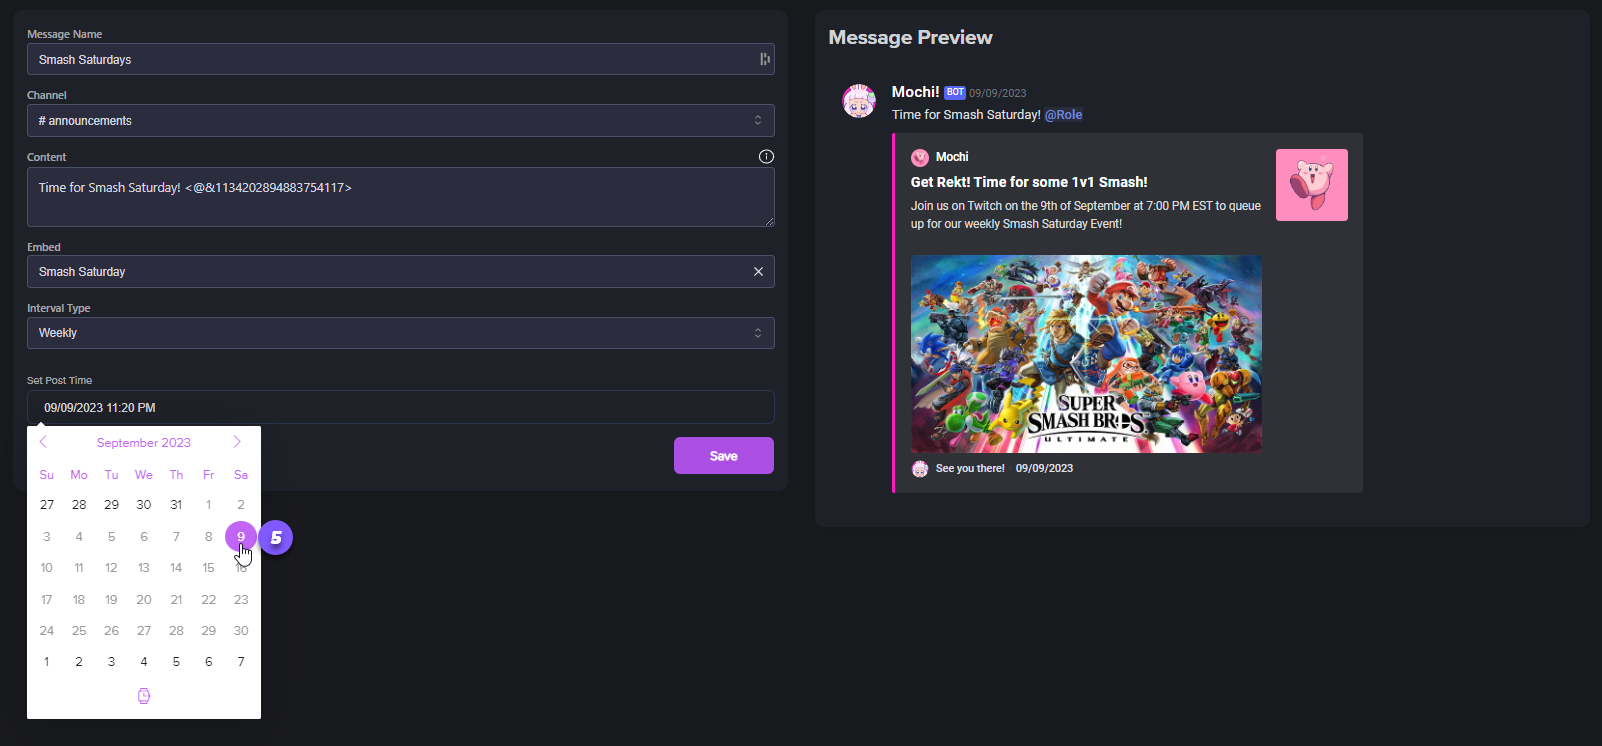
Step 1: Naming Your Message

To keep things organized, come up with a special name for your message in the "Message Name" section. This will help you locate and manage it easily.

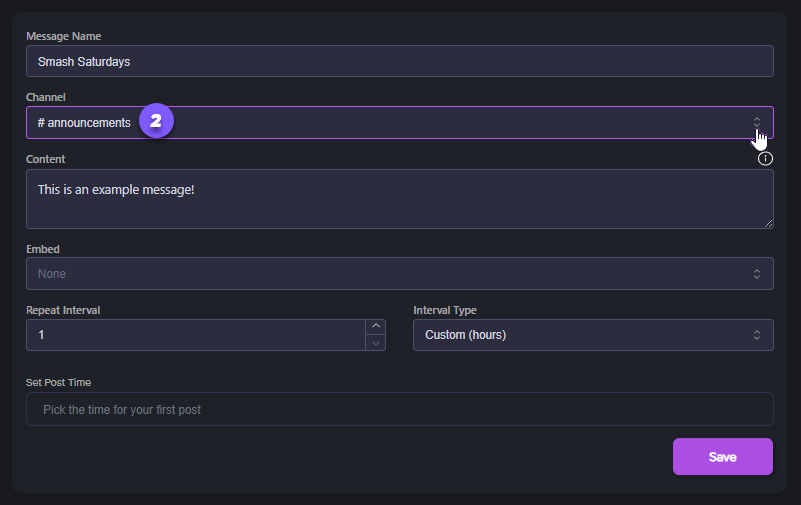
Step 2: Selecting the Announcement Channel

Now let's decide where you'd like to share your message! This way, we can make sure that it gets to the right people. Simply click the "Channel" section and pick the channel that works best for you from the list of options available.

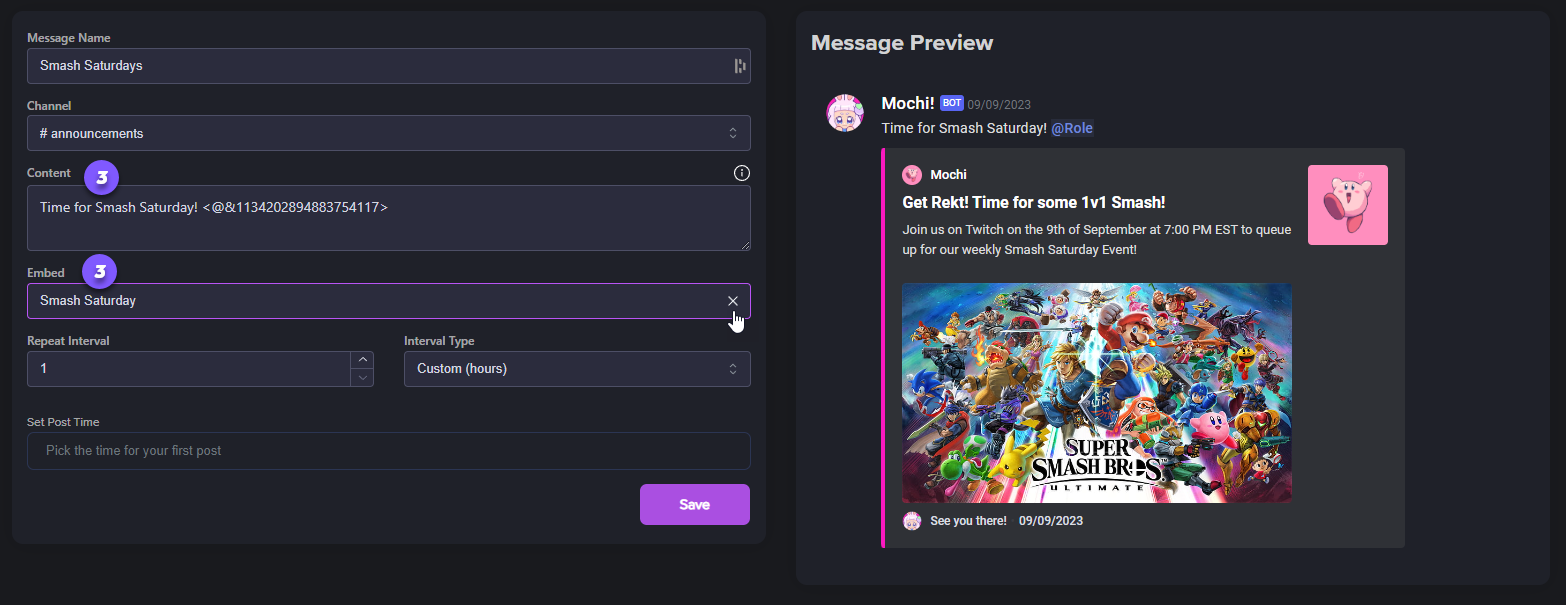
Step 3: Creating Your Message

Let's get started on writing your message! In the "Content Field," type out what you want to say. This field has some cool features, like support for Mochi variables to make your message more personal.

You can also add an embed to make your message even more eye-catching. Don't hesitate to use both fields to create a message that really stands out!

Step 4: Choosing the Post Frequency

When scheduling your message, you can choose how often you want it to be posted. If you only want it to be posted once, weekly, just keep the number as "1" and select "Weekly" for the interval type. This way, your message will only be posted once at the scheduled time, each week!

Step 5: Scheduling the Post Date

You can easily schedule when your message will be posted! Simply use the "Set Post Time" box to choose a specific date from the calendar. This way, you can make sure your message is published on the exact day you want it to be.

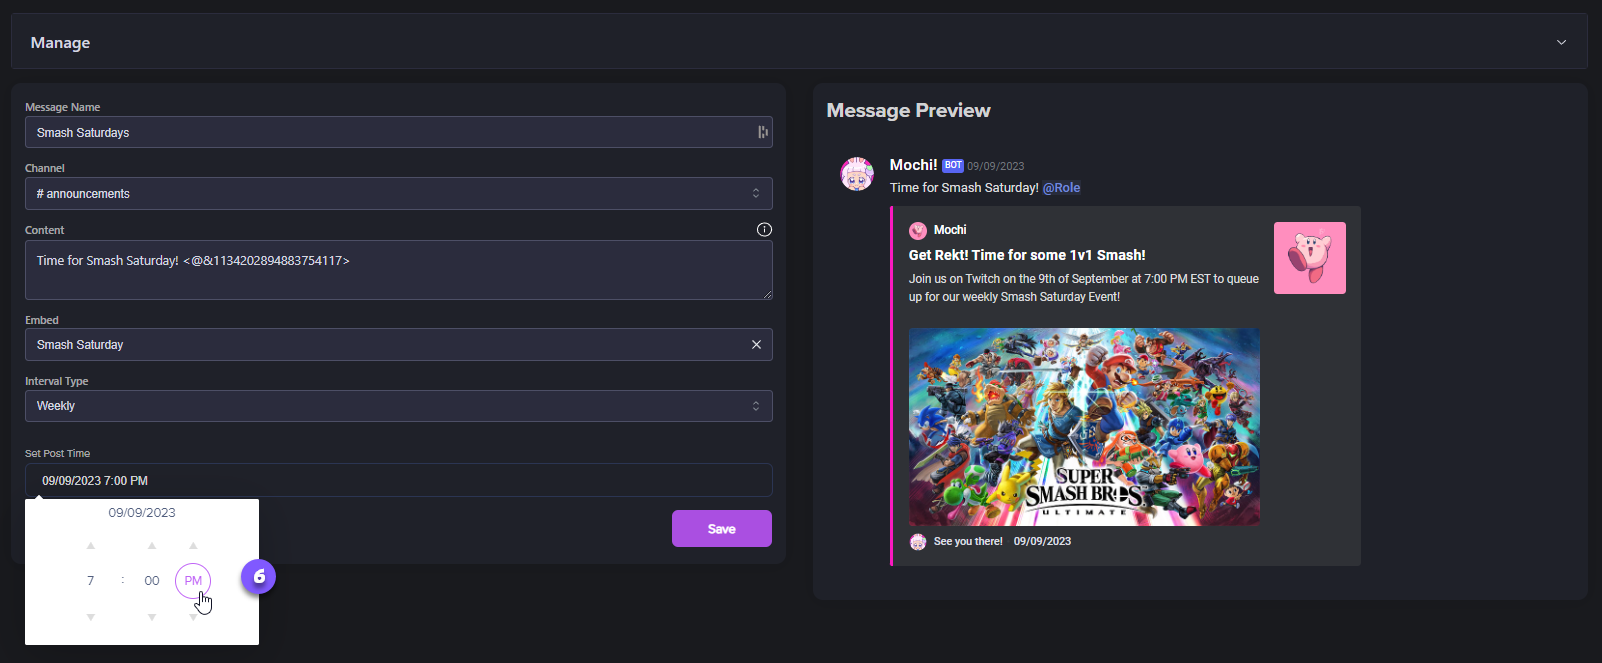
Step 6: Setting the Post Time

If you want your message to go live at a specific time, just click on the little watch icon. This way, you can choose the exact hour you want your message to be posted.

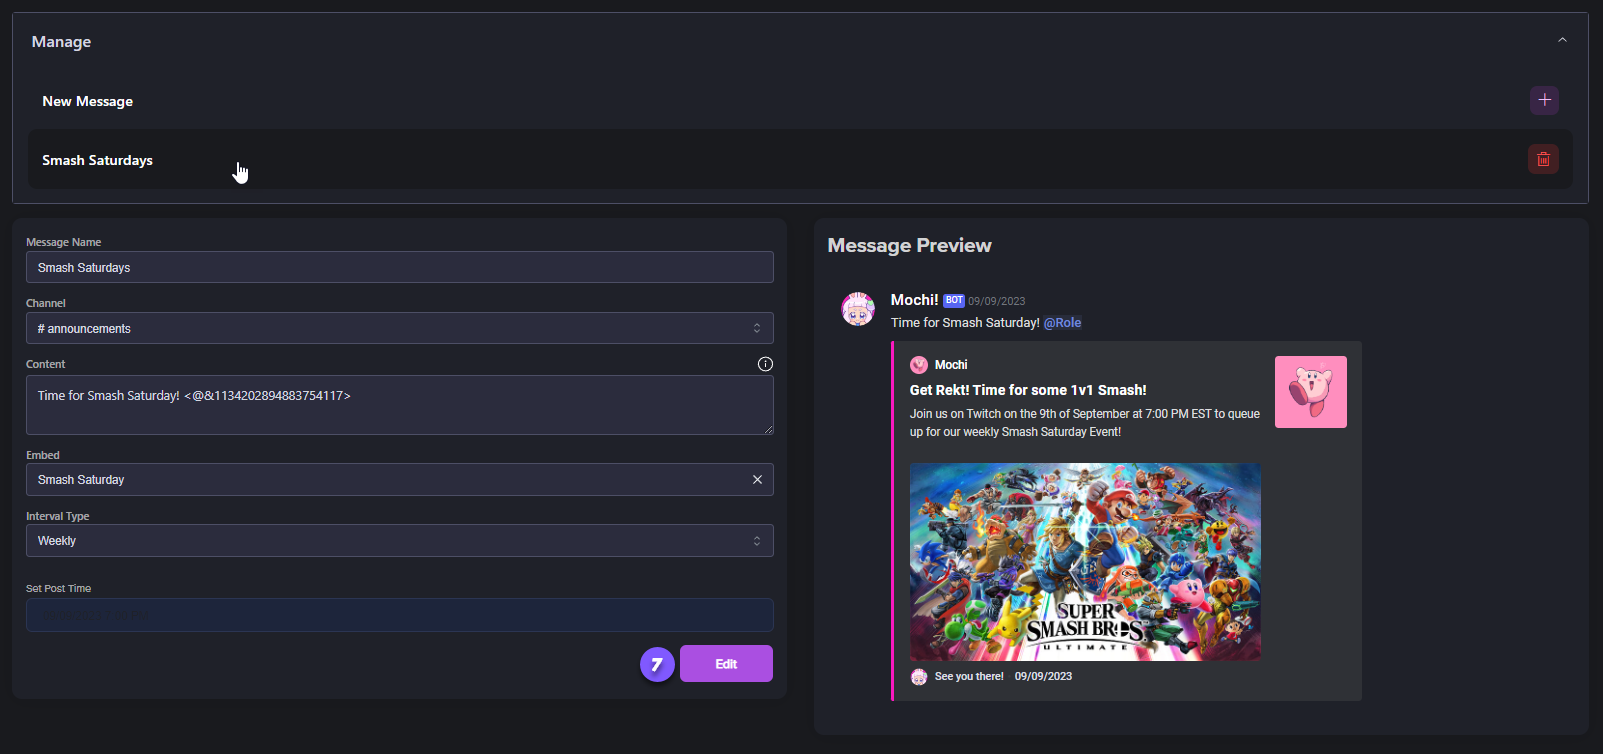
Step 7: Finalizing Your Message Setup

Once you've chosen the perfect time, simply click on "Save" and your message will be ready to be sent to your audience when you want it to. If you need to make any changes, just click "Edit" and if you wish to delete it, you can do so in the "Manage" section.

Last updated