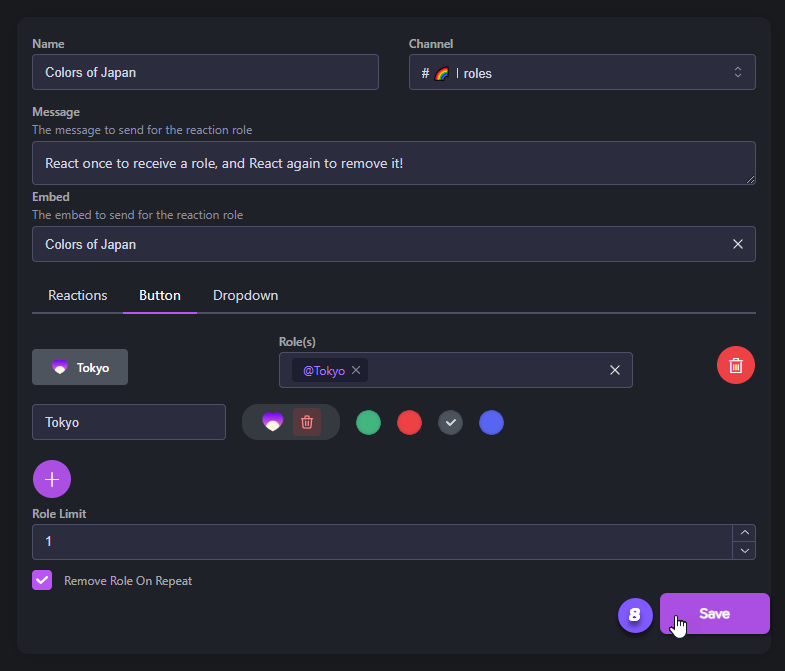
Reaction Role Buttons

Let's get started! Simply launch Mochi's reaction roles module to make organizing reaction roles in your server a breeze.

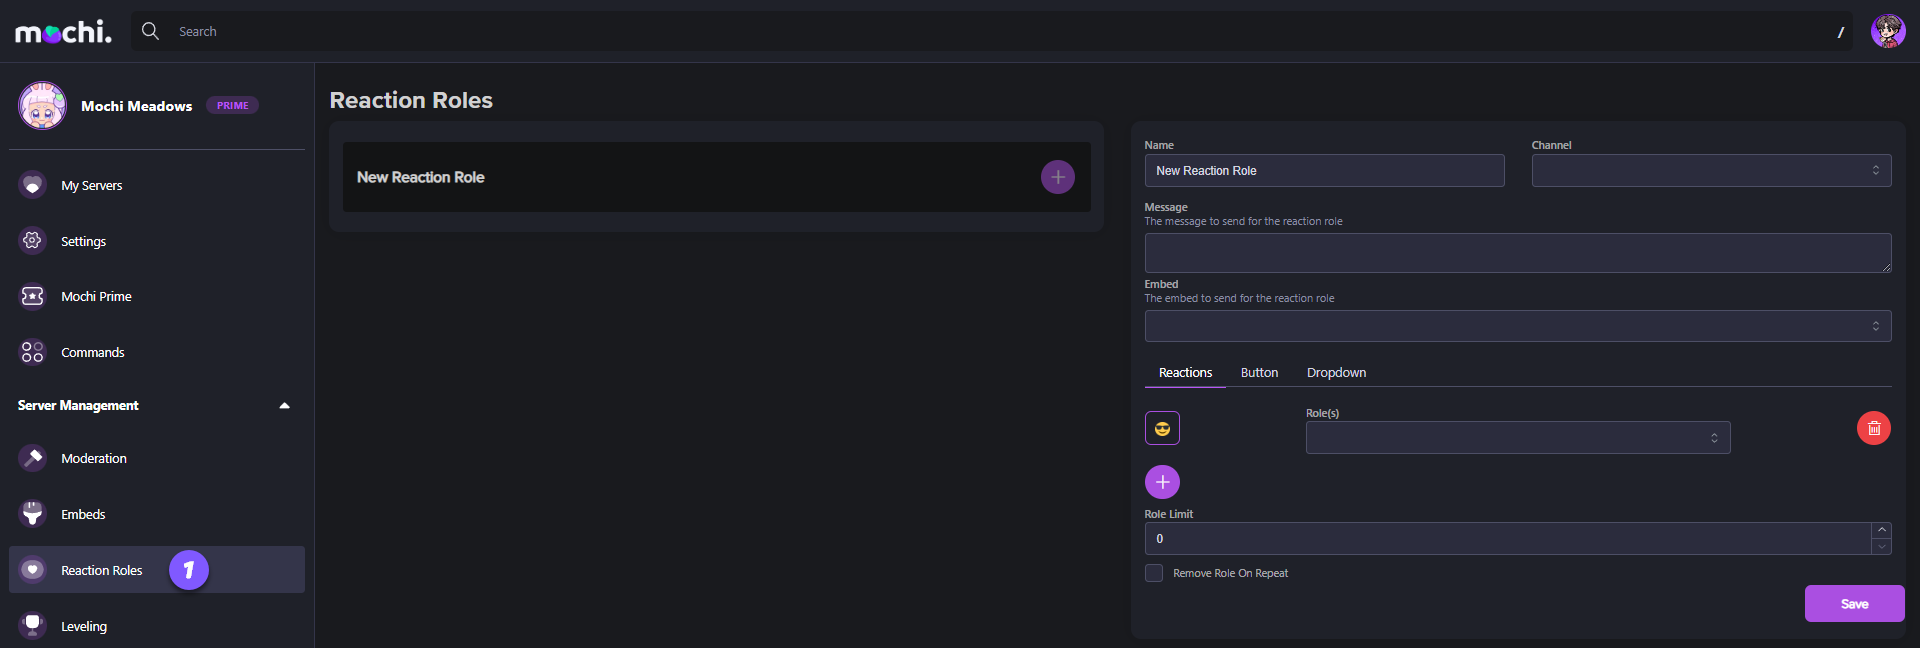
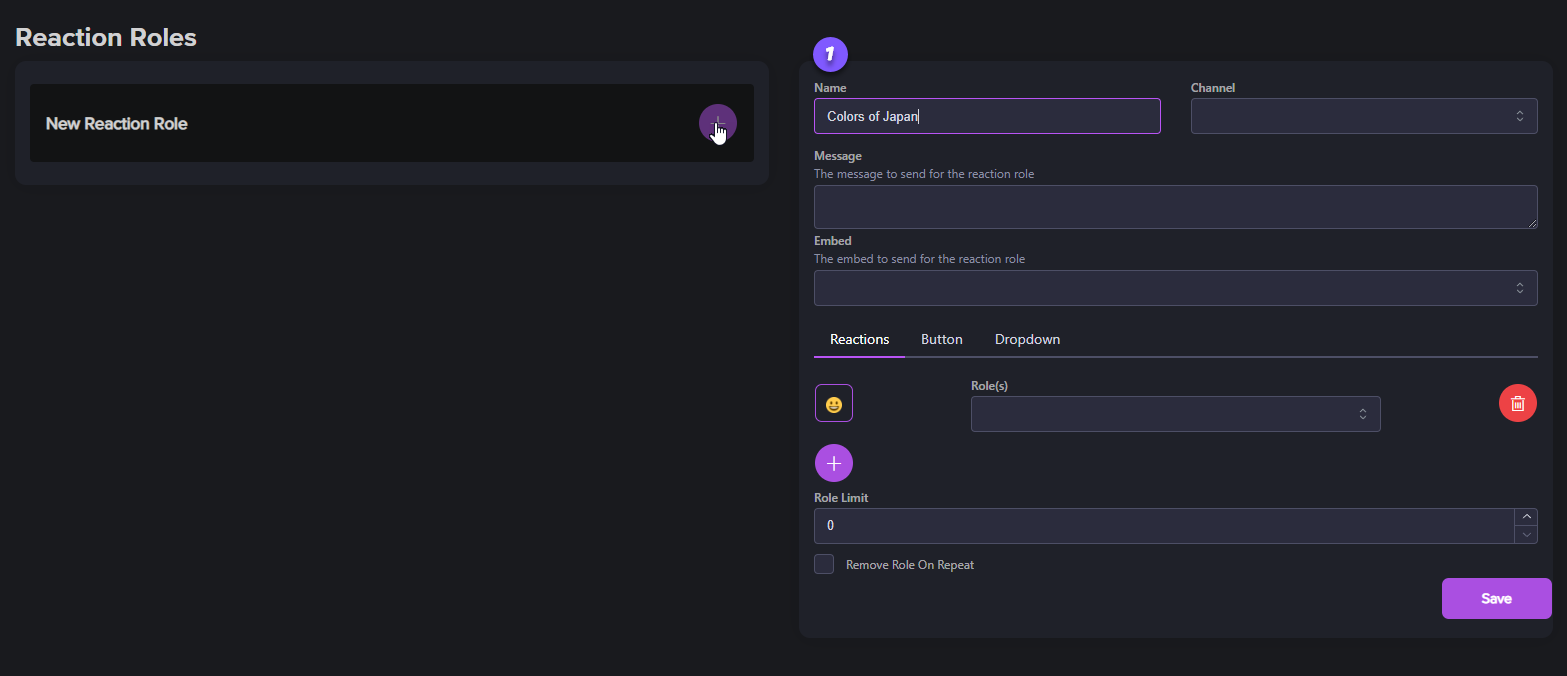
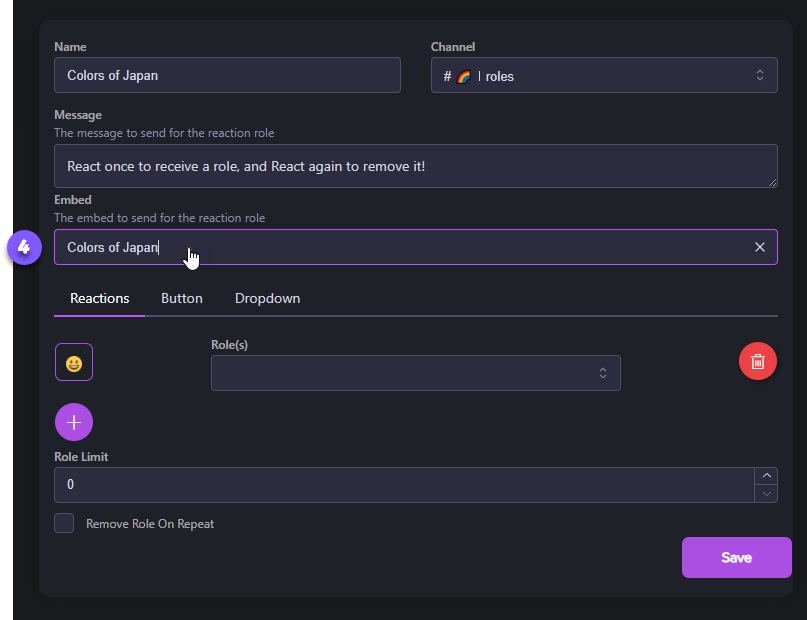
Step 1: Name Your Reaction Role

If you want to create a new reaction role, just fill in the "Name" field with a unique identifier. This will make it easier to recognize the reaction role later on.

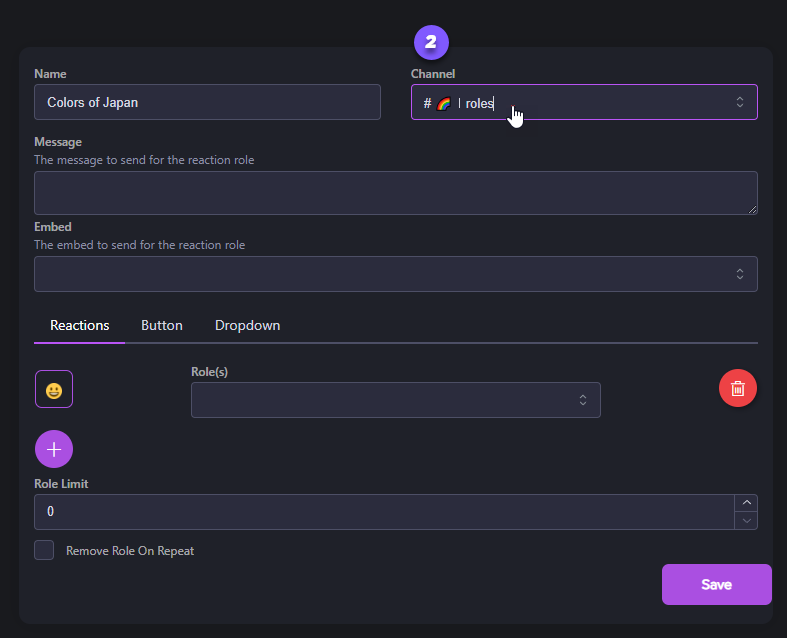
Step 2: Choose a Channel

After you've given a name to your reaction role, choose the channel where you'd like the reaction message or embed to show up. You can do this easily in the "Channel" section.

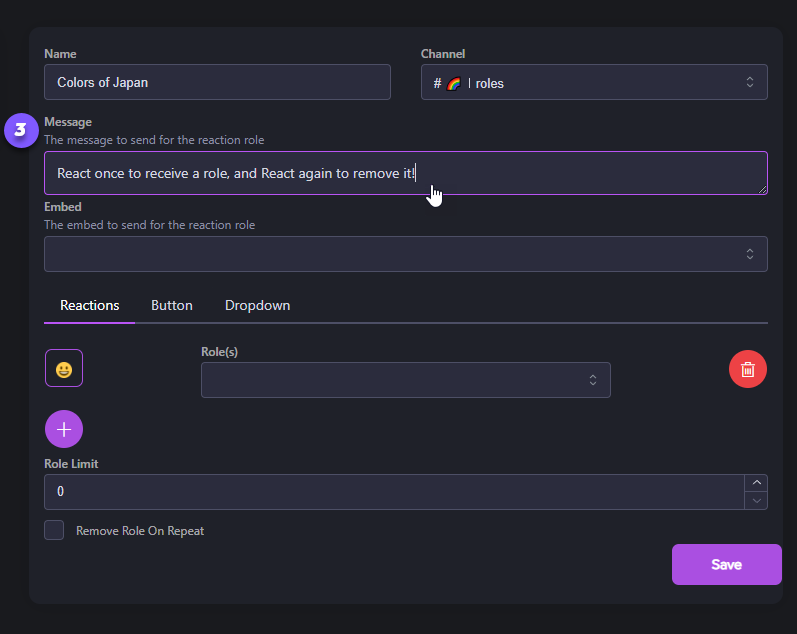
Step 3: Write Your Message (Optional)

To get members to react to a reaction message, just type it in the "Message" field. But if you'd rather go with a reaction embed, you can totally skip this part.

Step 4: Select the Reaction Embed

To customize the reaction role menu, simply select the embed you prefer from the "Embed" field. This will determine how the reaction menu looks.

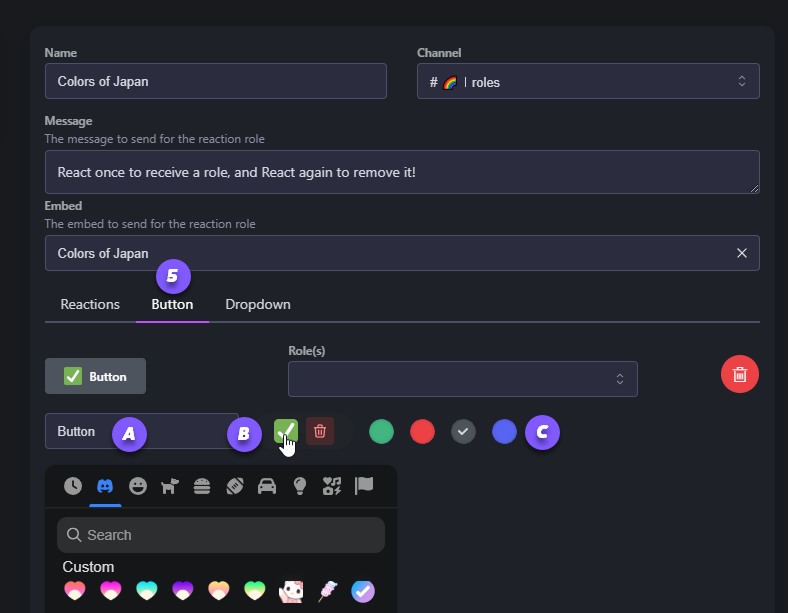
Step 5: Select Emoji, Label, and Button Color

If you'd like to customize the buttons for your reactions, here's a quick guide:

A. Give your button a label: Type in the text you'd like to see on the button. This label will help others understand what the button does.

B. Choose an emoji: Click on the little emoji icon and use the Emoji Picker to find the one that best fits your role. Once you've found it, simply click again to confirm your choice.

C. Select the button color: Pick a color for your reaction button - green, red, grey, or blue. It'll make it stand out!

Step 6: Assign the Reaction Role

Assigning a reaction role is easy-peasy! All you have to do is click on the "Role(s)" dropdown menu and pick the role you want to assign. And if you need to give multiple roles, don't worry at all! You can select as many roles as you want.

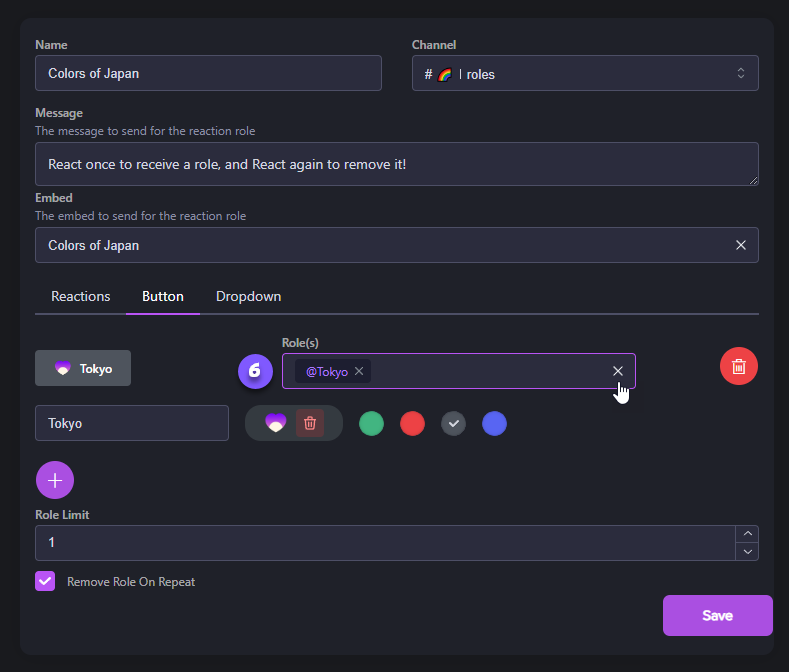
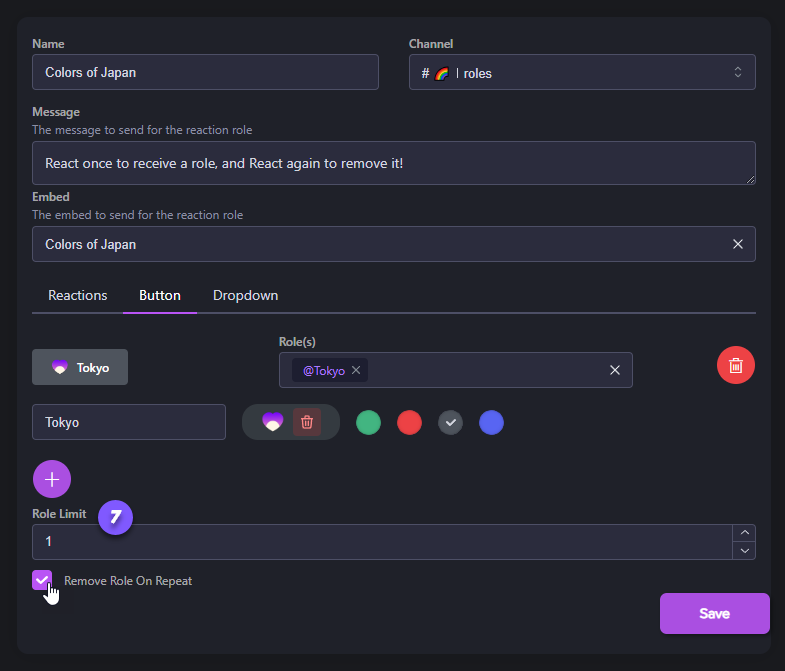
Step 7: Set Role Limits and Repeat Removal

To make sure members don't get too many roles from the reaction, you can set a limit using the "Role Limit" field.

If you want them to be able to remove the role by reacting to the same emoji again, just tick the "Remove Role on Repeat" box. Easy peasy!

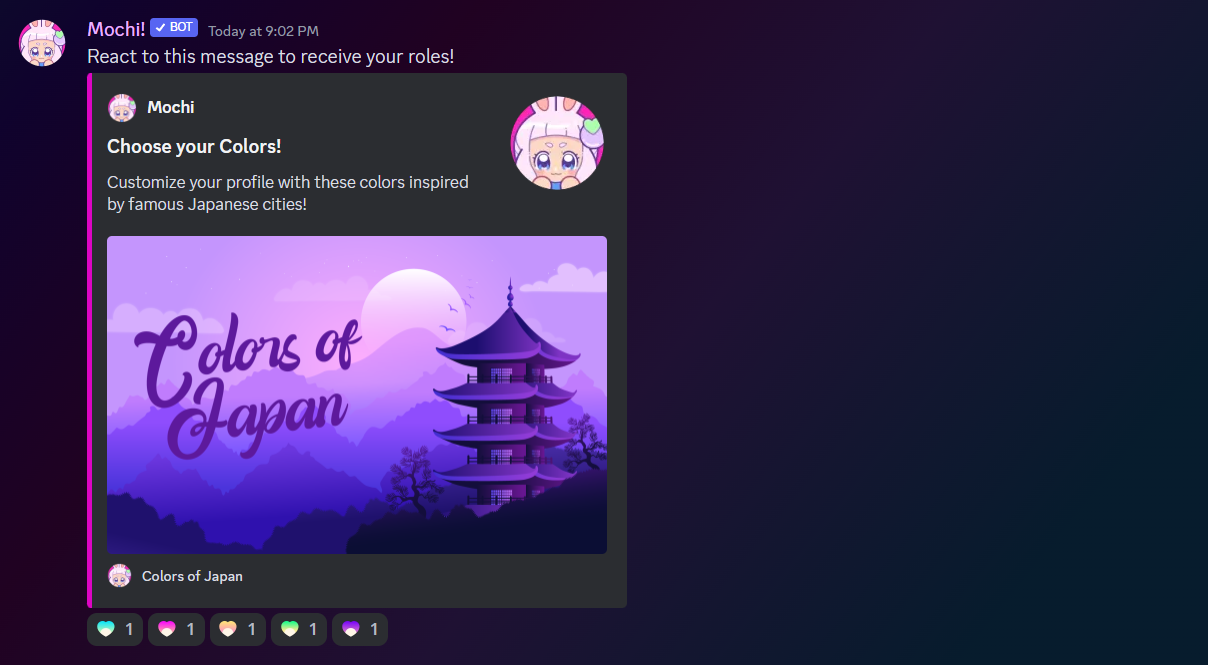
Step 8: Save and Display

Make sure to follow this step for all the reactions in your message or embed. Once you've got everything set up just the way you want it, simply hit the "Save" button to finish up.

Members can now easily assign themselves designated roles by checking out the Reaction Embed in your roles channel. It's all set up and ready to go!

Warning: Resending or embedding a message is necessary to activate a new reaction type, which will replace all previous reactions.

Last updated